By default, TelNet is disabled in Windows Operating Systems but, you can enable it anytime. The question is, why at some point we need to enable Telnet? What are the risks involved?
Advertisements
What is TelNet? It stands for Teletype Network. A network protocol commonly used by the Network administrators before, but its popularity gradually declined due to the rise of GUI (Graphical User interface) based protocols.
Using TelNet you must learn to use the CLI or Command Line Interface and its commands to communicate with network devices such as; routers, switches, computers, and access points. TelNet is capable of bidirectional communication which means it can send and receive messages or information one at a time.
TelNet’s common usage
- Remote Management.
- Network
devices initial set-up. - Website files management.
Is TelNet safe?
Generally speaking, it is unsafe. Why? It has zero encryption. What does it mean? Each information or data transfer passed over TelNet will be seen in cleartext.
Advertisements
15 Default PLDT router admin passwords 2019 [updated]
Cleartext – username: admin password: administratora
Encrypted text – username: 01xUL password: WXcM4k7Lt4Q8e
So, if someone monitors your network, and you login into your TelNet server with your username and password, that person can see everything and might steal your login credentials in no time. Aside from that, a network intrusion is highly possible.
Therefore, use it with caution! Now that you are aware of TelNet’s weaknesses and little of its history. It’s time to enable it but remember to read the disclaimer below.
Advertisements
7 quick steps to change PLDT WiFi password 2019
2 ways to enable TelNet in Windows 7, 8, 8.1 and 10?
METHOD 1: Using GUI (Graphical User Interface)
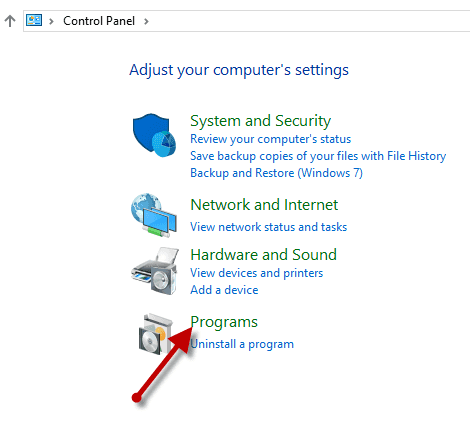
2 Click the ” Programs” .
SmadAV Antivirus 2019 Latest Version | Download
3 Choose ” Program and Features “.
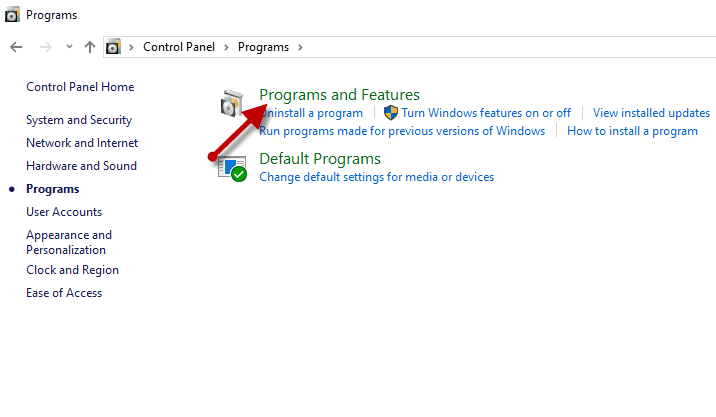
4 Select ” Turn Windows Features on or off “.
4 steps to change PLDT Home Fibr WiFi name and password
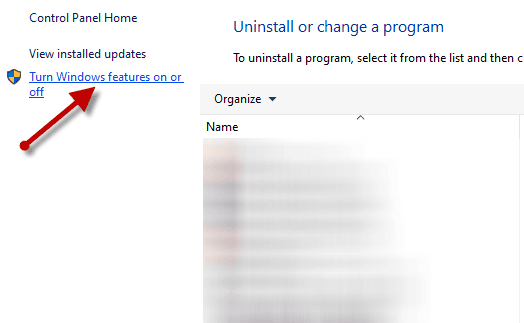
5 A new dialog box will appear, scroll down until you see the ” Telnet Client ” then check the box before it.

That’s it! Easy, right? To turn off your Telnet simply uncheck the ” Telnet Client ” box.
How to enable TelNet using CLI (Command Line Interface)?
Method 2: Using CLI (Command Line Interface)
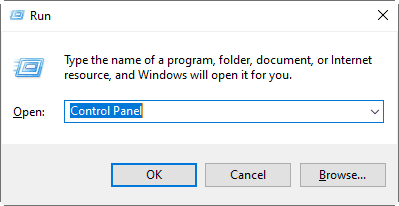
1 On your Windows machine look for the ” search-box ” and type ” CMD ” (you may need to click the ” start button ” for Windows 7 and 8 users).
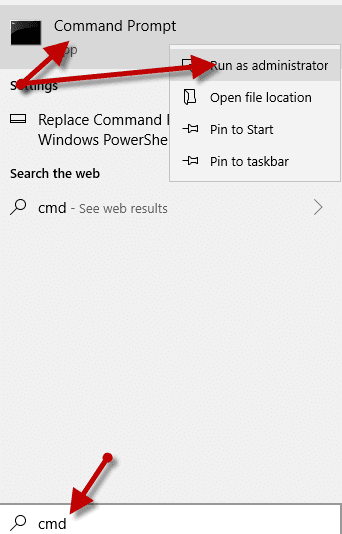
2 Right-click the “ Command Prompt ” then select the “ run as administrator “. Then, a pop-up message appears, asking you, “ do you want this app to make changes in your device? “. Select “ Yes “, an elevated command prompt will open. How would you know that it’s elevated or not? Please see the image below.

Tips: Elevated command prompt points to the “system32” local path. On the other hand, the unelevated CMD points to “Users” as its path.
3 On your elevated CMD prompt, type or copy this command, ” dism /online /Enable-Feature /FeatureName:TelnetClient ” and hit ” enter ” to enable TelNet. If you succeeded, you must see the message ” 100% the operation completed successfully “.
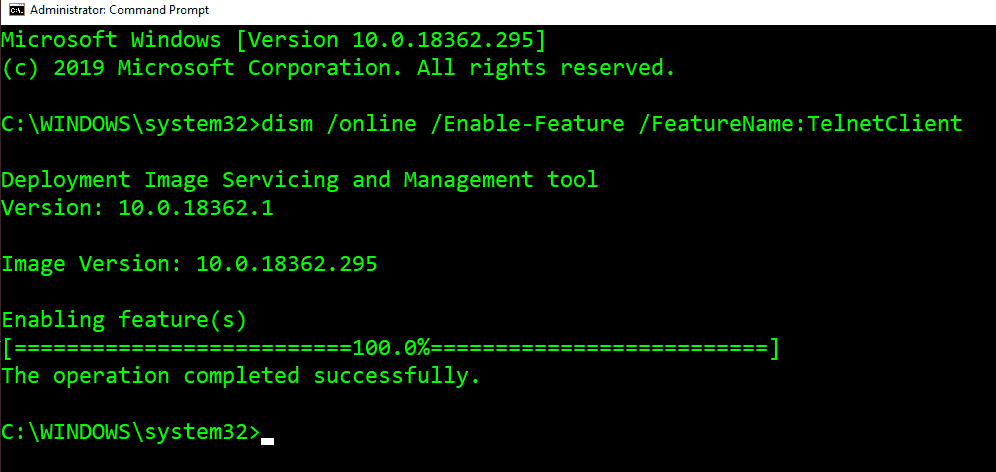
You can now type “telnet” and all its valid commands. Use the “quit” command to return to the “system32” path.
4 When you are done using Telnet. I highly recommend to disable it. All you have to do is to replace the “enable” from given command ” dism /online /Enable-Feature /FeatureName:TelnetClient ” to disable. Your line of commands should be like these; ” dism /online /Disable-Feature /FeatureName:TelnetClient “. Then hit “enter” to complete the Telnet disabling process.

The image above means that you successfully disabled your Telnet on your Windows operating system. I hope that you found this post helpful. Your comment is highly appreciated. Please take the time to comment below. For more information about TelNet you may visit https://en.wikipedia.org/wiki/Telnet.
November 16, 2021 at 9:02 am
Sir may way po ba para ma access yung super admin? “The current user is not allowed to log in.” po kasi ang lumalabas.
I used the password that was shown but still says wrong password and username for some reason?? pls help me
After you log out from web admin switch, type again the 192.168.1.1/fh, you will be redirected to login.html but that’s fine.